Key Takeaways
- Check if the remote batteries need replacing; they typically last between 3-6 months depending on how much you use the remote.
- Ensure a clear line of sight between the remote and TV by removing obstructions. Stand closer, if necessary.
- Ensure the IR emitter is working; pair the smart remote again, or reset your TV as the last step.
When you’re settling in to watch a movie after a long day, a remote that doesn’t function properly can be frustrating. Before you swap it for a new remote, though, try these troubleshooting steps to fix the problem.
1 Check the Batteries
One of the most common reasons for TV remotes not functioning is dead batteries. If you have a smart remote, you can usually check the battery status on your television. For traditional remotes, you can press the power button of your remote while you point it at the TV; if you don’t see the LED light blink, it means the remote batteries need changing.
On average, remote batteries should last between three and six months. If it’s been around that time, and you’re starting to have issues with your remote, using lithium batteries or a compatible replacement might just help.
Additionally, while it’s often tempting to just change one battery and let the other one remain (I sure have done that in the past), it’s best to replace both at the same time, so there’s equal power distribution between the batteries, and they drain at the same time. When swapping out the batteries, look for corrosion marks on the battery contacts. If you spot any rust, clean it before you insert new batteries into the compartment.
2 Check for Obstructions
When using a TV remote, make sure to check for a proper line of sight between the television and the remote. Any obstructions between your remote and the TV can block the infrared signals emitted by the remote, especially if they’re larger like a coffee table or a piece of home decor, or even smaller but located directly in front of the TV’s infrared receiver.
If you spot any potential obstructions, make sure to move them away from the line of sight between the remote and the TV.
That said, keep in mind that it might not always be a physical obstruction that’s affecting the signal. If the TV’s infrared sensor is covered in dust or any other type of debris, its ability to receive signals from the remote may be affected. To keep this from happening, make sure to dust the sensor on the TV every few days with a soft microfiber cloth.
3 Pair the Remote Again
If you’re using a smart remote control, you might have to pair it with your TV to get it to function properly again. The exact steps to pair your remote will vary based on its brand; for instance, Amazon Fire TV Stick remotes have a specific pairing guide. Similarly, in the case of a Samsung smart remote, you’ll have to press the Return and Play/Pause buttons for over three seconds simultaneously. Make sure to check your manual to check how to pair your remote to your TV.
If you do this step correctly, a pop-up window will appear. At this point, you can follow the on-screen prompts to complete the pairing process. I’ve noticed that this step usually works for me and resets my remote when other methods fail.
4 Stand Closer to the TV
Sometimes, standing too far away from the television will affect the effectiveness of the remote’s infrared signal. In most cases, moving closer to the TV will solve the problem, but if the receiver on the TV is located toward the bottom of the screen, and it’s hard for you to angle the remote directly at it from where you’re seated, consider raising the TV or moving it forward toward the edge of the stand or mount.
This adjustment ensures that your TV is able to better receive the signal from the remote. If you’re unable to get the angle right while the TV is on a table or stand, consider mounting the TV on the wall.
5 Check the IR Signal
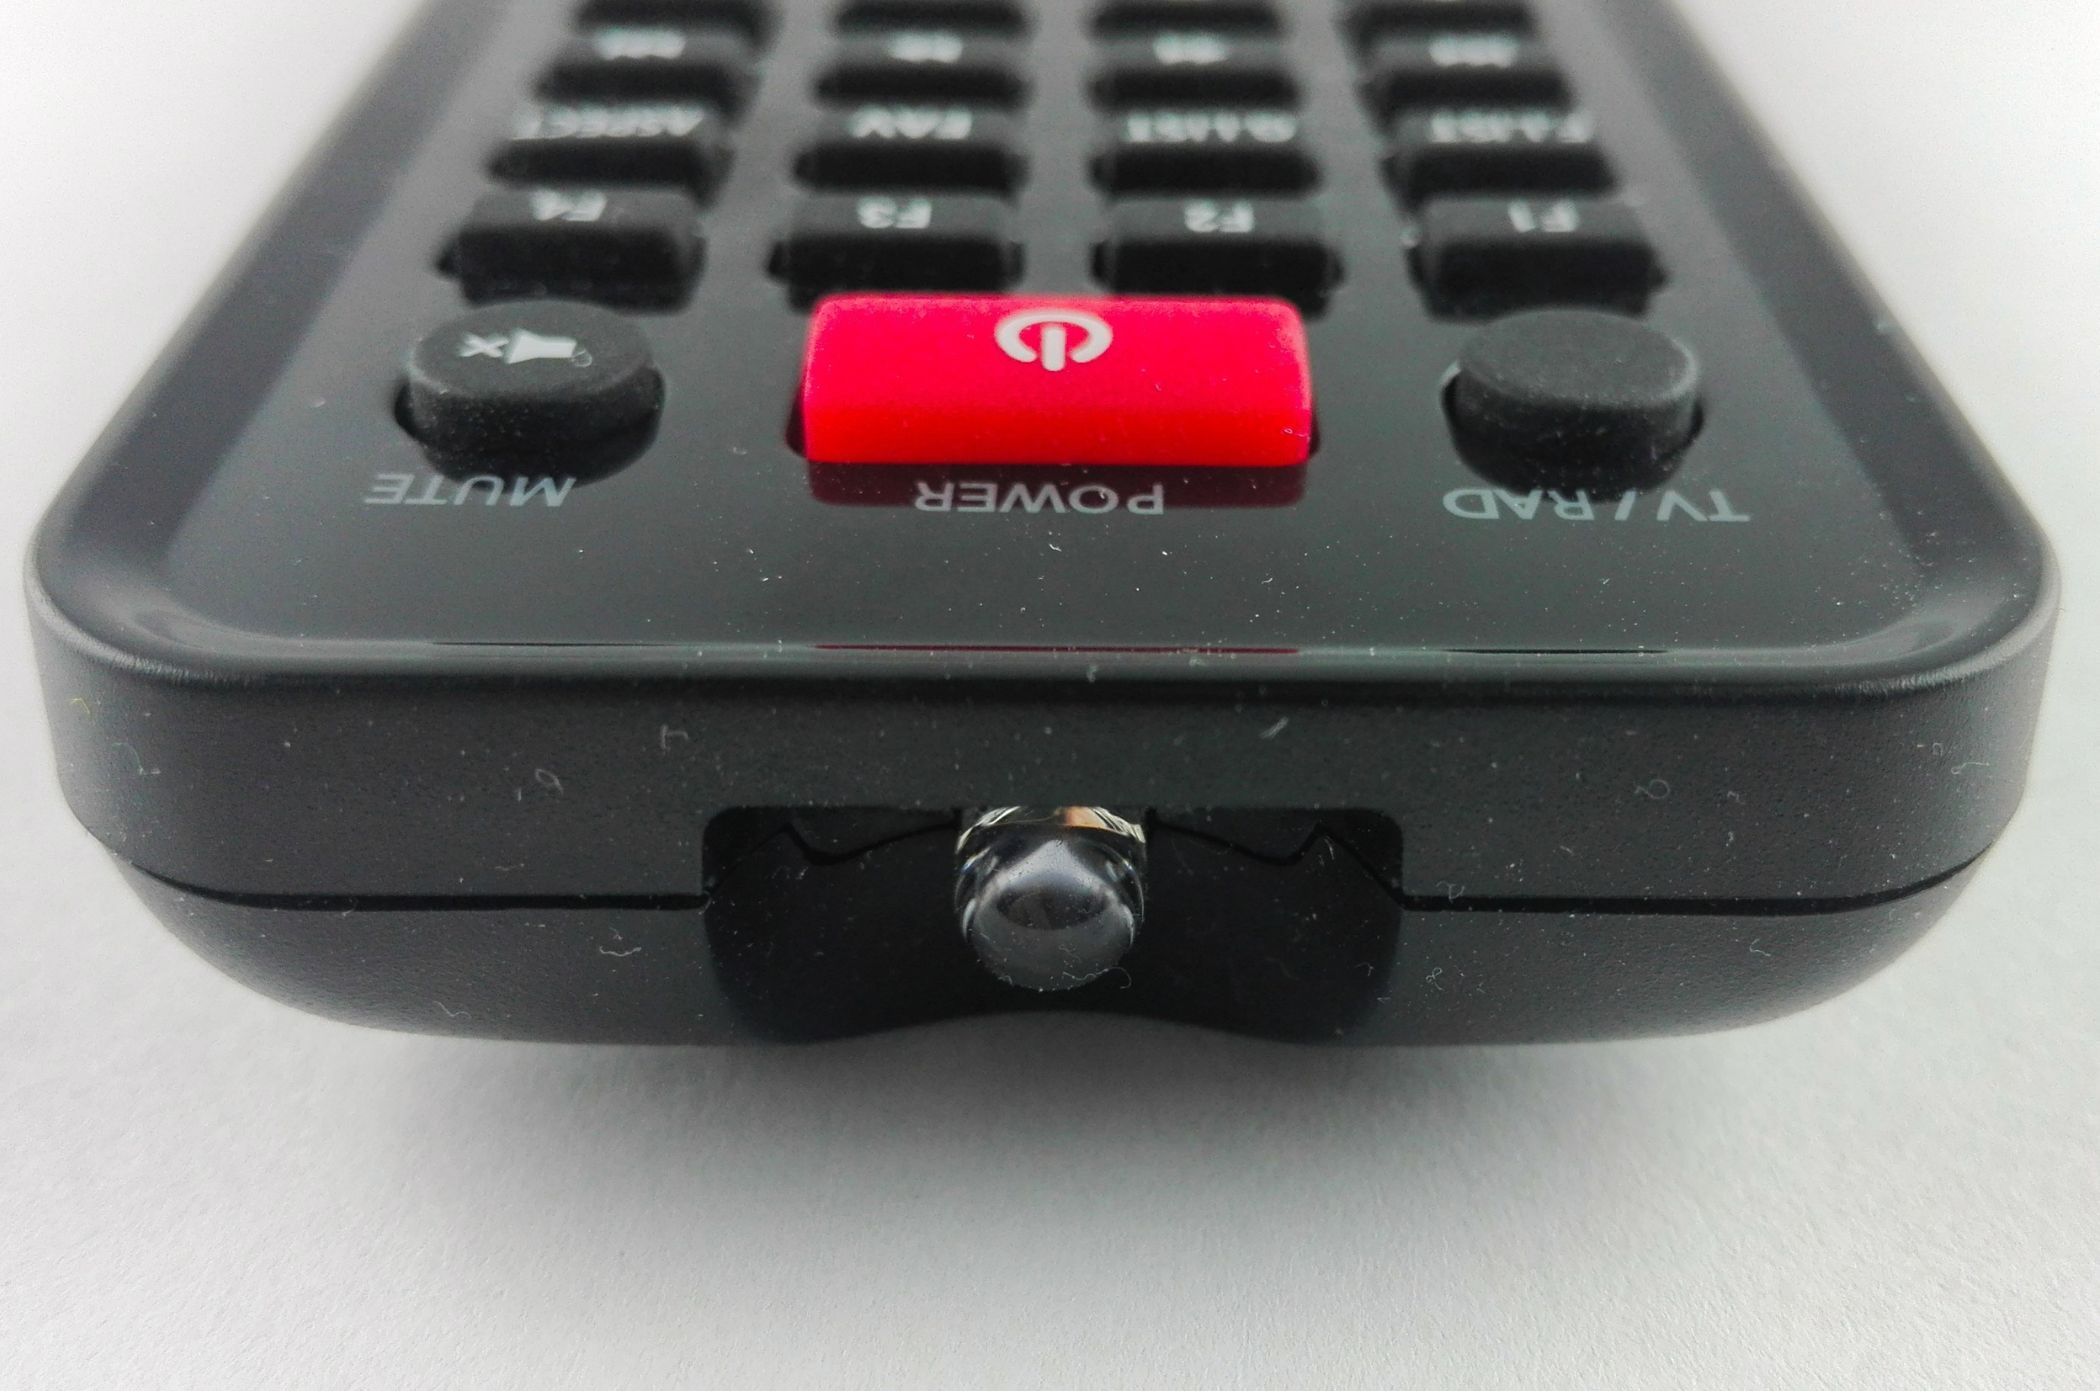
Although you can’t see infrared lights with your eyes, you can use a digital camera, camcorder, or cellphone camera to verify if the signal is emitted normally. Turn on your camera, point the infrared light on the end of your remote to the camera lens, and press and hold any button on the remote control. While you’re doing this, take a look at the viewfinder on your camera; if you see a light, it means your remote’s infrared light is working normally.
If you don’t see the infrared light, you might have to use fresh batteries on the remote. If that doesn’t work, there’s a chance the infrared emitter is malfunctioning or damaged. While you can sometimes get this issue fixed, especially if your remote is covered by a warranty, it might be easier and less time-consuming to purchase a brand-new remote.
6 Reset the TV
If nothing else works, try resetting your TV and pairing your remote with it again. This can clear any software errors that might affect reception. You can reset the TV by turning it off and unplugging the device from the power outlet. Turn the TV back on and look for an option to factory reset all settings in the Settings menu.
The exact steps to reset your TV will vary based on its brand and model, so checking your owner’s manual will give you the most accurate steps. Keep in mind that when you reset your TV, you lose your app downloads, Wi-Fi login details, and personalized settings. So, don’t attempt this method before you try the other troubleshooting solutions. You might not need an immediate replacement if your remote isn’t working.
Following these troubleshooting steps should help you resolve most problems yourself. If none of these solutions work, you’ll likely have to purchase a new remote. In the interim, use a TV remote app to control your television. There are also various ways to repurpose old remotes, so don’t throw yours away just yet.


