If your printer throws a “Filter Failed” error when you send a print job from your Mac, you’re not alone. This issue affects printers from Epson, Canon, HP, and other brands. Thankfully, fixing it is as easy as resetting the macOS printing system and installing updated drivers.
What Causes the “Filter Failed” Printer Error?
The most common culprit for print jobs erroring out with a “Stopped – ‘Filter’ Failed” message or similar is a corrupt or incompatible printer driver. This usually happens when you install or upgrade to a newer macOS version.
In that case, your existing printer driver may become incompatible to the point where attempting to print from any app will result in errors or cause the app to quit.
Troubleshooting Steps to Fix the “Filter Failed” Printer Error in macOS
To fix the notorious “Filter Failed” printer error, you’ll first need to reset the printing system, which clears the print queue and removes your printers and presets. Next, you should download the newest driver compatible with your operating system and add your printer again.
1. Reset the macOS Printing System
To reset the printing system, go to Apple menu > System Settings from the menu bar and choose Printers & Scanners from the sidebar. Then, Control-click your printer on the right and choose Reset Printing System.

Confirm the operation by choosing Reset (you may need to enter your admin password). Restart your Mac and revisit this section to confirm no devices are listed under Printers.
We also recommend manually moving residual driver files from ~/Library/Printers/ and ~/Library/Printers/PPDs/Contents/Resources/ to the Trash. Click Go > Go to Folder from the menu bar to head to these directories.
2. Reinstall the Driver and Add Your Printer Again
Start by downloading the most recent printer software from the manufacturer’s support page. If your printer supports AirPrint, however, you can safely skip this step.

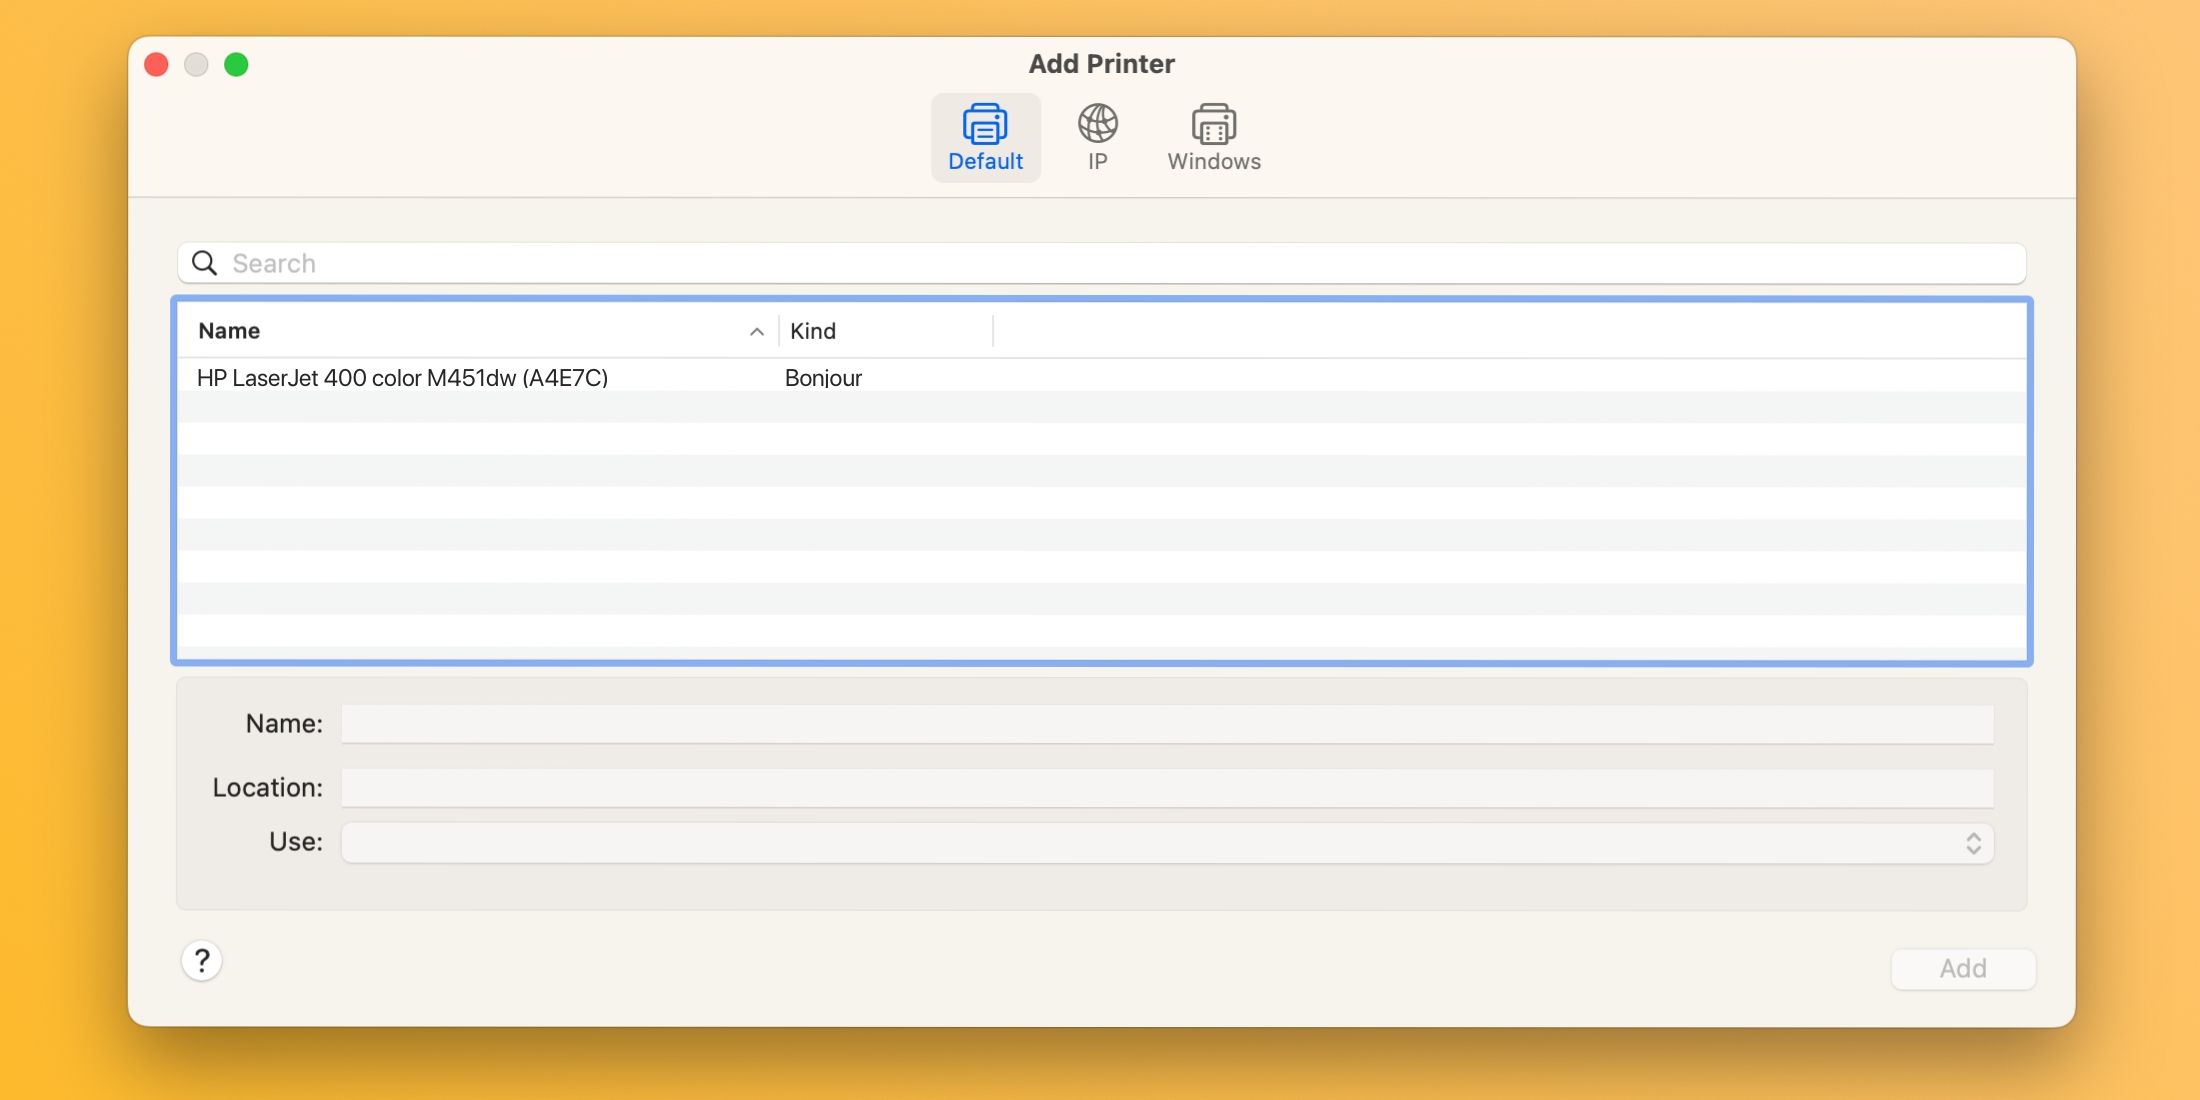
To add a printer to your Mac, connect it to the computer, turn it on, and go to System Settings > Printers & Scanners. Click the Add Printer, Scanner, or Fax button on the right, select the Default tab, choose your device from the Printers list, and click Add.
With the printer driver reinstalled and your printer added again, you should be able to print documents on your Mac from Microsoft Word, Preview, and other apps without “Filter Failed” errors.
3. Other Generic Printer Fixes to Try
Apple’s macOS printing support page provides several generic fixes that might be helpful when troubleshooting printer issues, including the following tips:
- Verify that the printer has enough ink or toner
- Check the USB connection and cables
- Turn off the Print dialogue extensions
- Try printing from another app
- Restart your Mac and printer
Sometimes, issues like these can crop up after installing a major new macOS update. However, with these steps, you can fix the “Filter Failed” errors and get your printer working again within minutes.
Because macOS no longer bundles printer drivers, be sure your next printer supports Apple’s AirPrint technology, which lets you print without the need to download or install drivers.