Key Takeaways
- To overlay two pictures on your iPhone, you can use the Photos app to create a sticker from the first image and then paste it onto the second image.
- For more customization options, you can get the Union app to blend and overlay images.
- Apple’s Photos app is best when you only want to create a simple meme or reaction picture. Union is most suitable if you prefer more aesthetic results.
Want to put a picture on another picture on your iPhone? You can overlay pictures in the Photos app or download a third-party app to access more image overlay and blending options. We’ll teach you both methods below.
Overlay Pictures in Your iPhone’s Photos App
The first method to overlay pictures on your iPhone is to use the Photos app. This is the easiest way if you don’t want to download an extra third-party app just to layer two photos.
To start, you need to turn the first photo’s subject into a sticker. The Photos app has a handy feature that lets you create custom stickers from your iPhone’s photos. So, go to the Photos app, scroll to your desired photo, and tap to view it.
Now, long-press on the photo subject, then release. You’ll see a glowing white line tracing the edge of the subject when it’s successfully recognized and selected. Then, choose Add Sticker.
The photo subject will be added to your iPhone’s sticker collection. Tap the x icon to exit the sticker window.
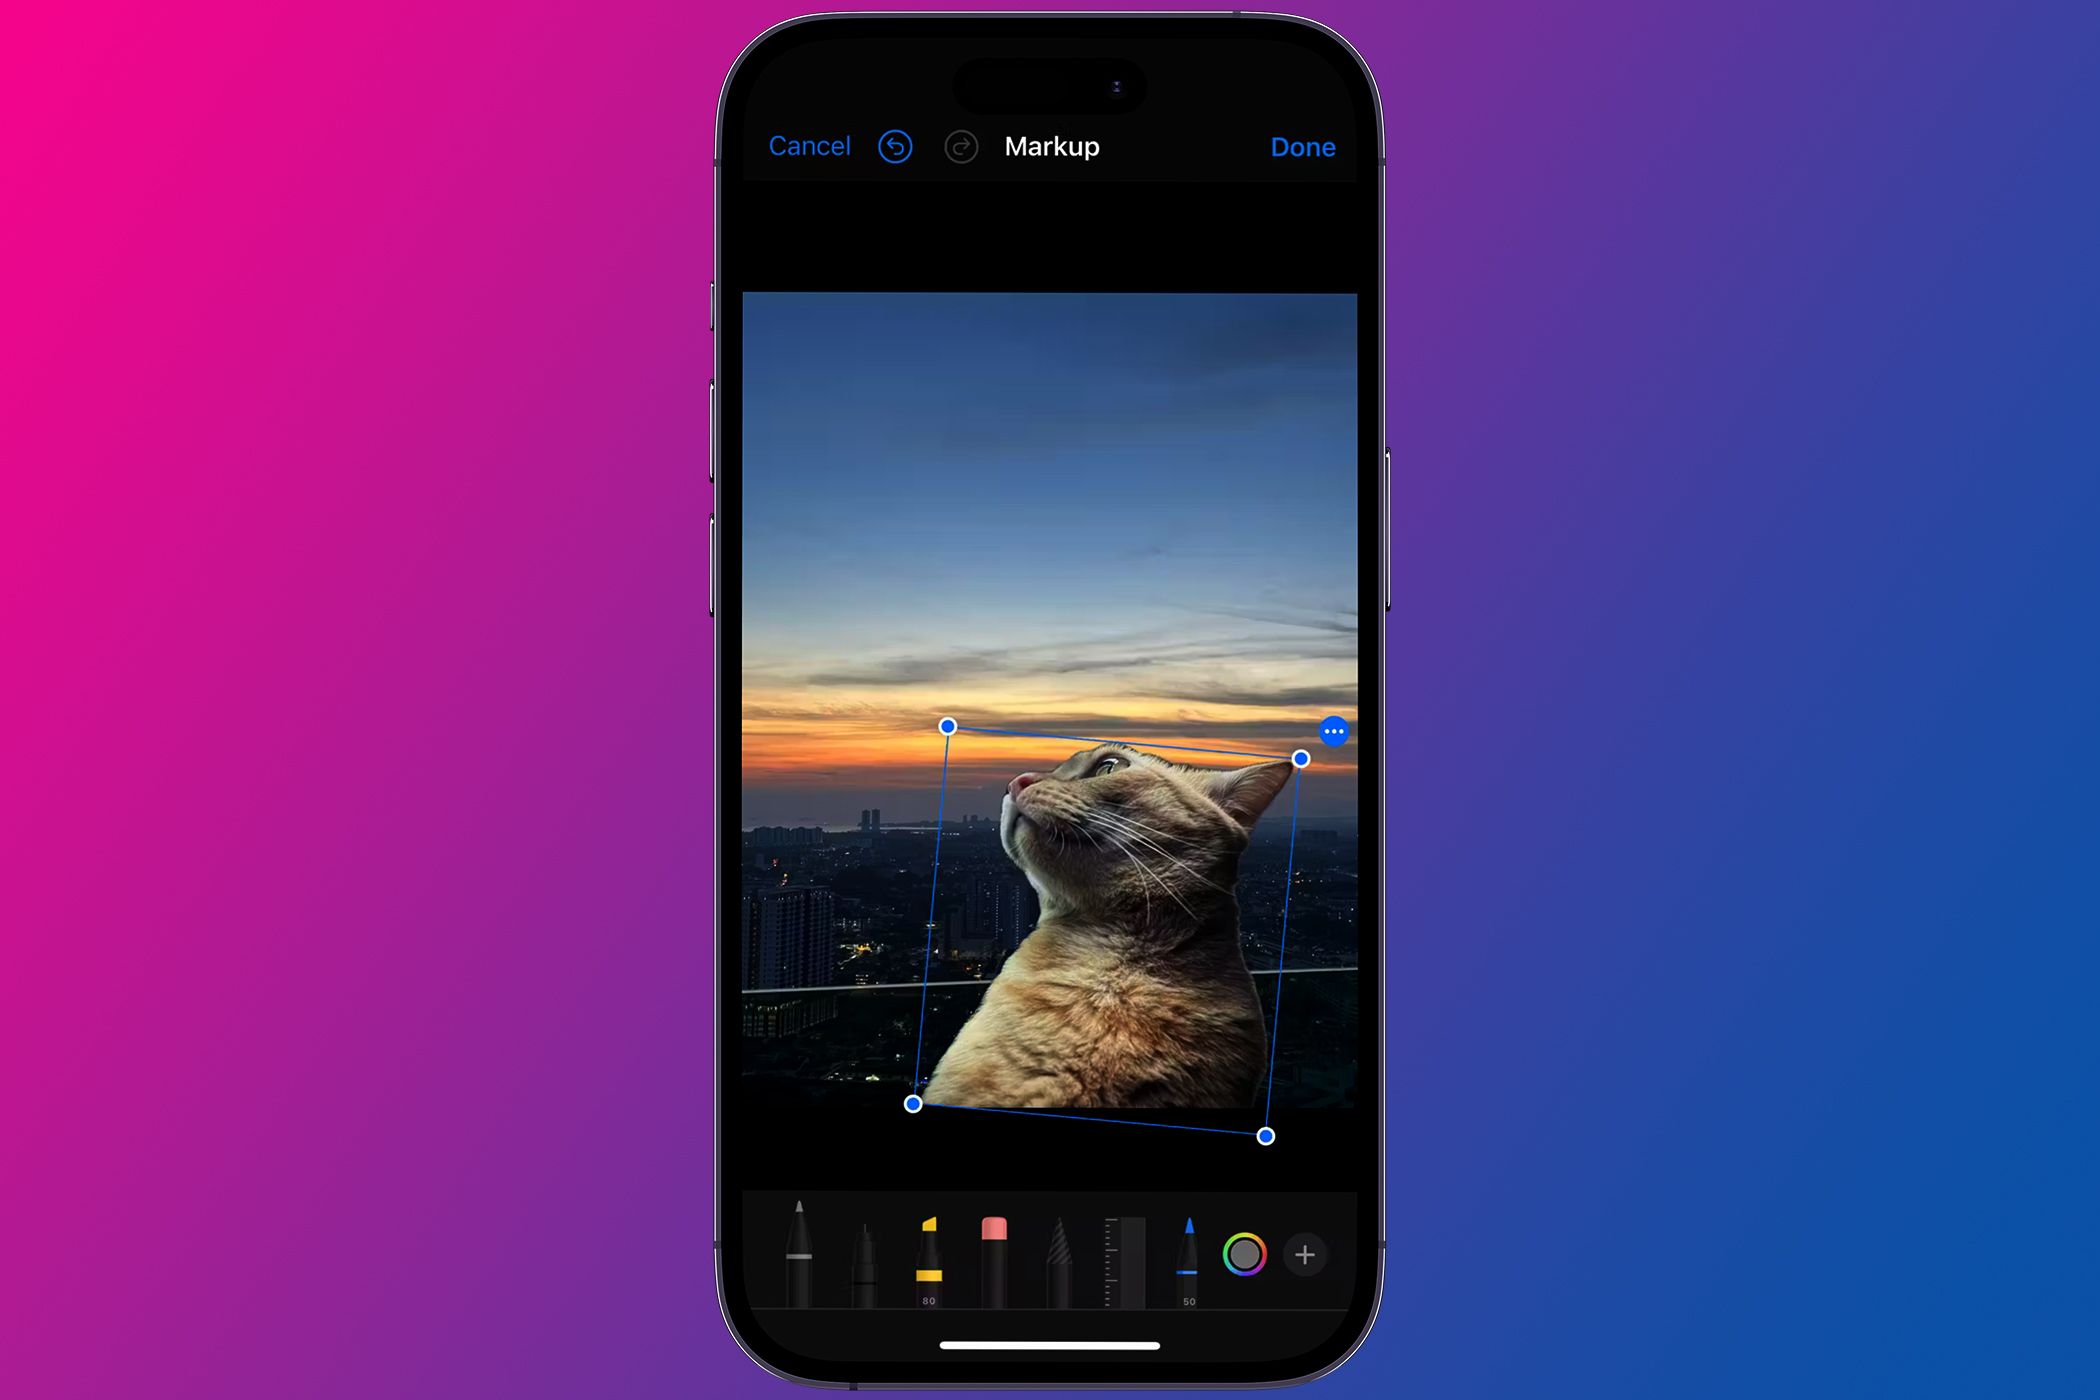
Now, go back to your gallery of photos. This time, scroll to the second photo that you want to use as the background layer and tap to view it. Tap Edit > Markup (the marker icon). Tap the + icon from the bottom toolbar and choose Add Sticker.
Select the sticker you just created to layer it on top of the current photo. You can use the circles at the corners to adjust the size of the photo sticker. Tap the blue Done button, then the yellow Done button to save your new picture.
Overlay Pictures Using a Third-Party App
If you want to layer photos on your iPhone and have more image customization features available, we recommend the Union app.
Union has a clean, easy-to-use interface that offers multiple image overlay and blending options. You can download Union for free from the App Store.
Download:Union (Free, subscription available)
To overlay pictures in Union, open the app and tap Get Started. Tap Background > Photo and choose from your photo gallery to add the background layer for your picture.
Next, you can change the aspect ratio if you prefer. Once you’re satisfied, tap the green checkmark icon to save the background.
Next, tap the hamburger (three lines) icon in the top-left corner and tap Foreground > Photo to add the photo you want to paste on top of the existing background picture.
Once it’s added, you can pinch or drag the picture to adjust it. Then, with the Blend Mode icon (two overlapping circles) selected, scroll along the bottom toolbar and choose options such as Darken, Overlay, Soft Light, and more to choose how you want the front image to be superimposed on the back image.
You can go back to the hamburger menu and tap Mask > Erase to remove unwanted parts of the front image or Mask > Shape to change how the front image is superimposed on the background.
The main downside of Union is that you can’t export the completed image without paying for a subscription. For free users, the workaround is to take a screenshot on your iPhone and crop the image to obtain the part you want.
Generally, if you just want to quickly layer photos on an iPhone without needing to achieve seamless blending of the two pictures, creating a sticker in the Photos app and pasting it onto another picture is the simplest method. For example, this is useful when you want to make a meme on your iPhone.
However, if there’s no specific photo subject that you can create a sticker from, or you prefer to create something more elegant and artistically put-together, consider third-party apps such as Union to easily overlay pictures on your iPhone.