Java’s installer helps you remove the program quickly, but if that’s not enough, you can use Terminal to remove every trace of it.
Key Takeaways
- You can uninstall Java and the Java Deployment Cache from your Mac easily using Java’s installer, likely located in your Downloads folder.
- If you want to be extra thorough, use Terminal to execute some commands and remove every trace of Java from macOS.
Whether you’re sick of Java’s security issues or find it unnecessary, there’s a pretty easy way to uninstall Java from your Mac using Java’s installer. Furthermore, you can also use Terminal to remove Java without leaving a trace. We’ll discuss both methods.
Uninstall Java From Your Mac With the Java Installer
Java can’t be uninstalled like other Mac apps—you can’t click and drag the app to the Trash and call it a day. Fortunately, the very thing that put Java on your Mac, its installer, can be used to uninstall it quickly and easily.
To use the Java installer to remove it from your Mac, you have to find it first. Unless your internet downloads go elsewhere, it should be in your Downloads folder. But if you can’t find the installer or you deleted it, download it again from Java’s website.
Once you’ve located the installer, which should have a .dmg extension, you can remove Java from macOS by doing the following:
- Click the .dmg file to run it. Then double-click on the Java 8 Update file to open the installer.
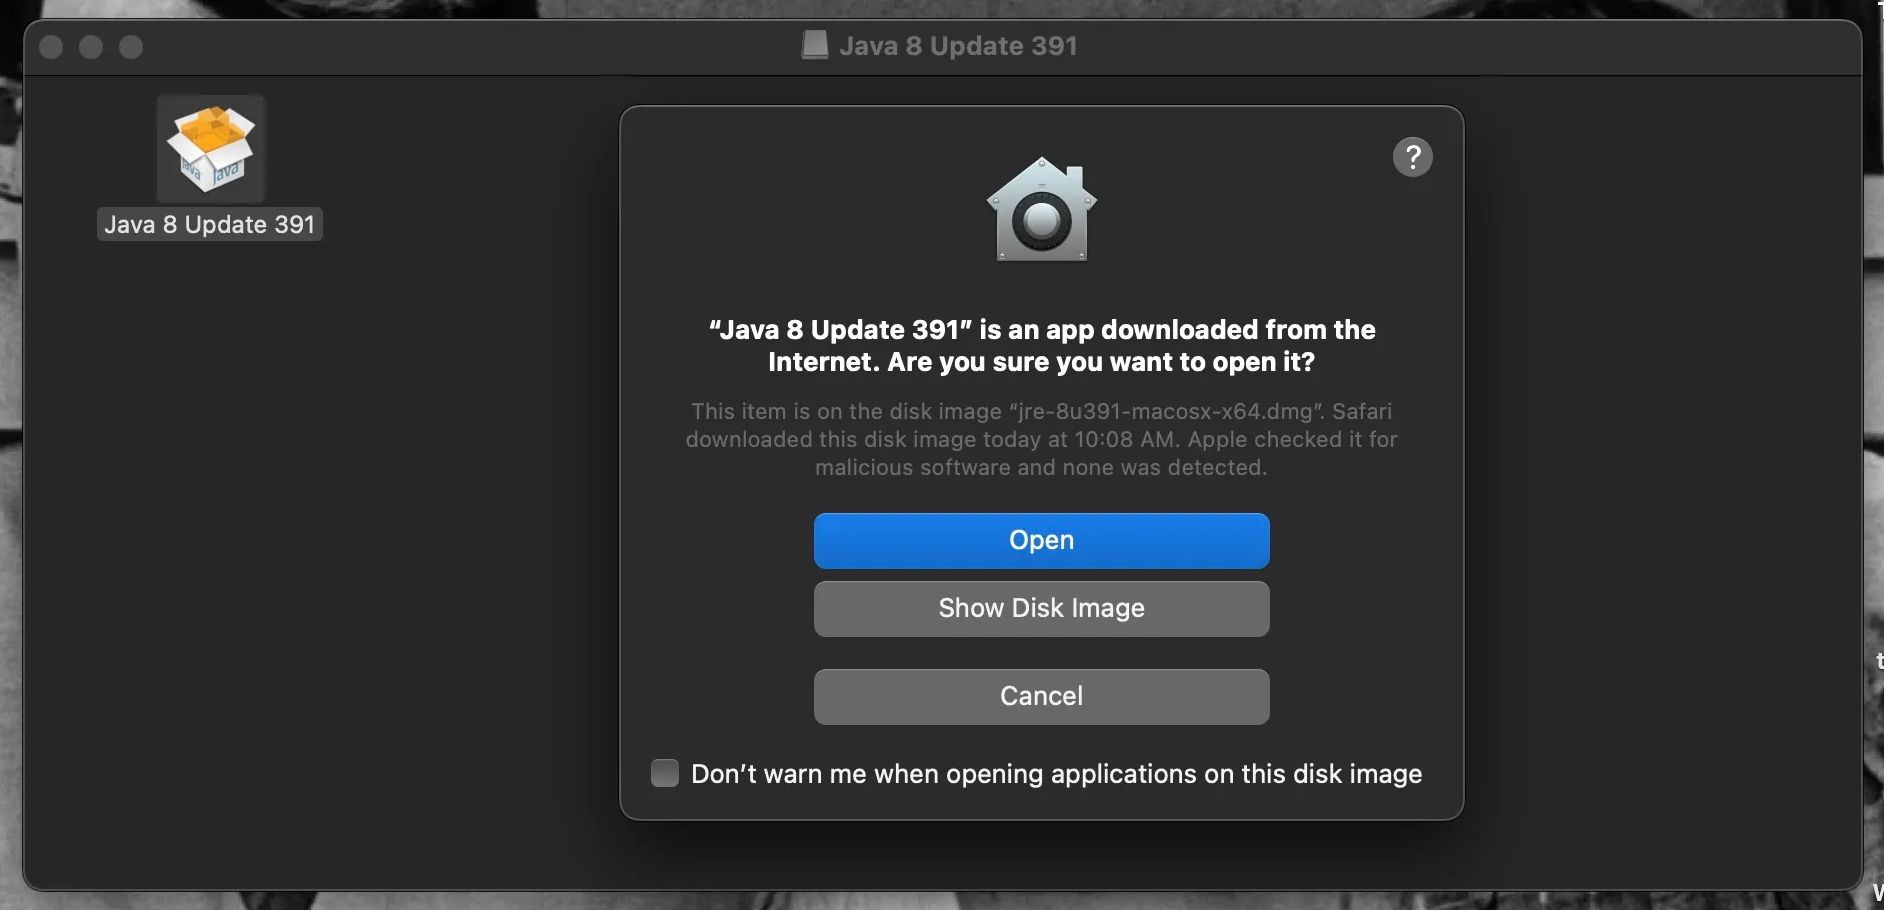
- If you get a warning about Java 8 Update being an app from the internet, choose Open.
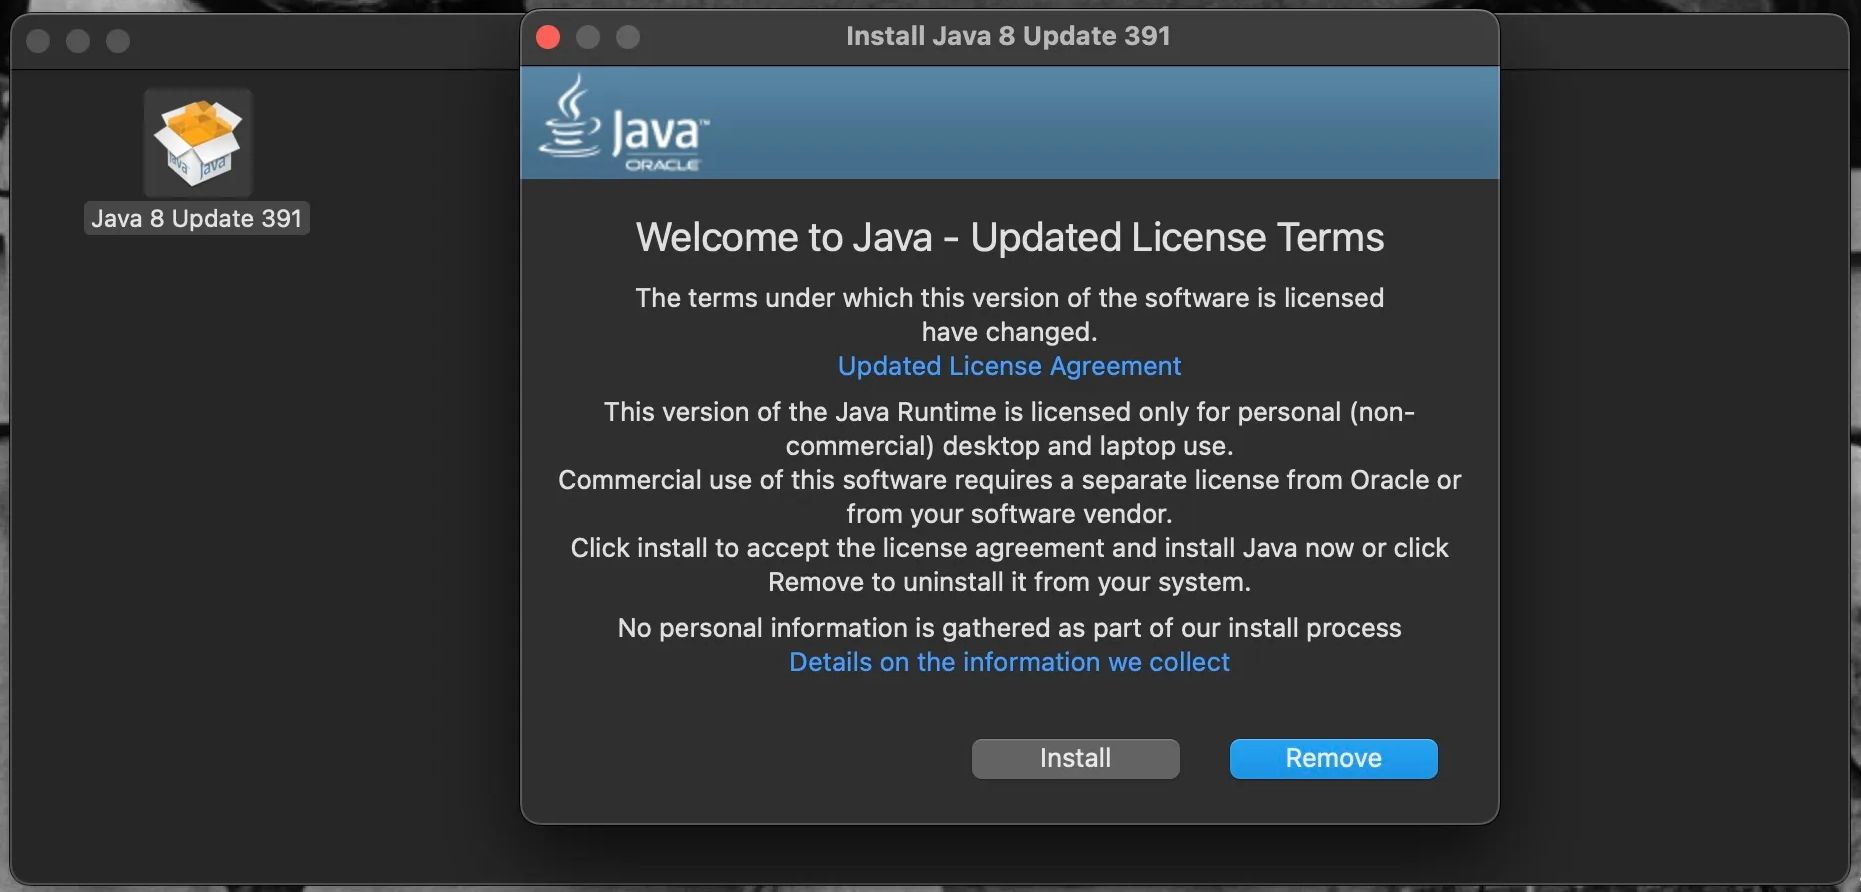
- The Java installer should now be open. Click Remove to uninstall Java from your Mac.
- When prompted, type in your Mac’s password, then click OK or hit Return (or Enter).
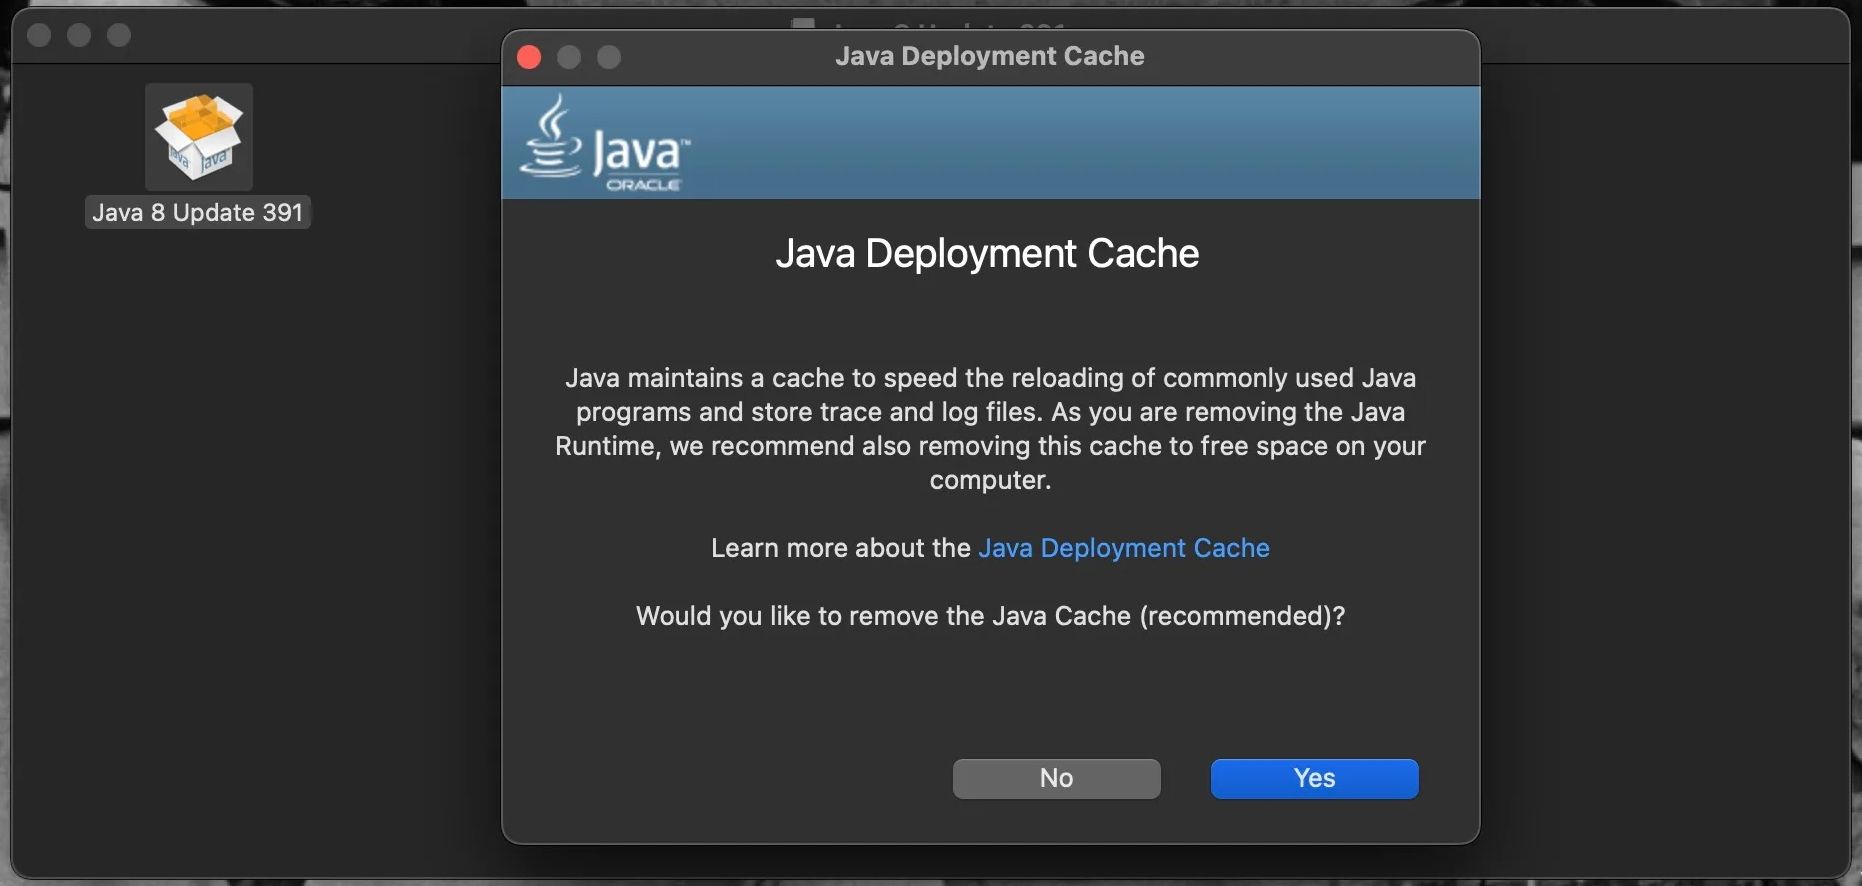
- You’ll now be asked about removing the Java Deployment Cache. Click Yes to remove all traces of Java from your Mac.
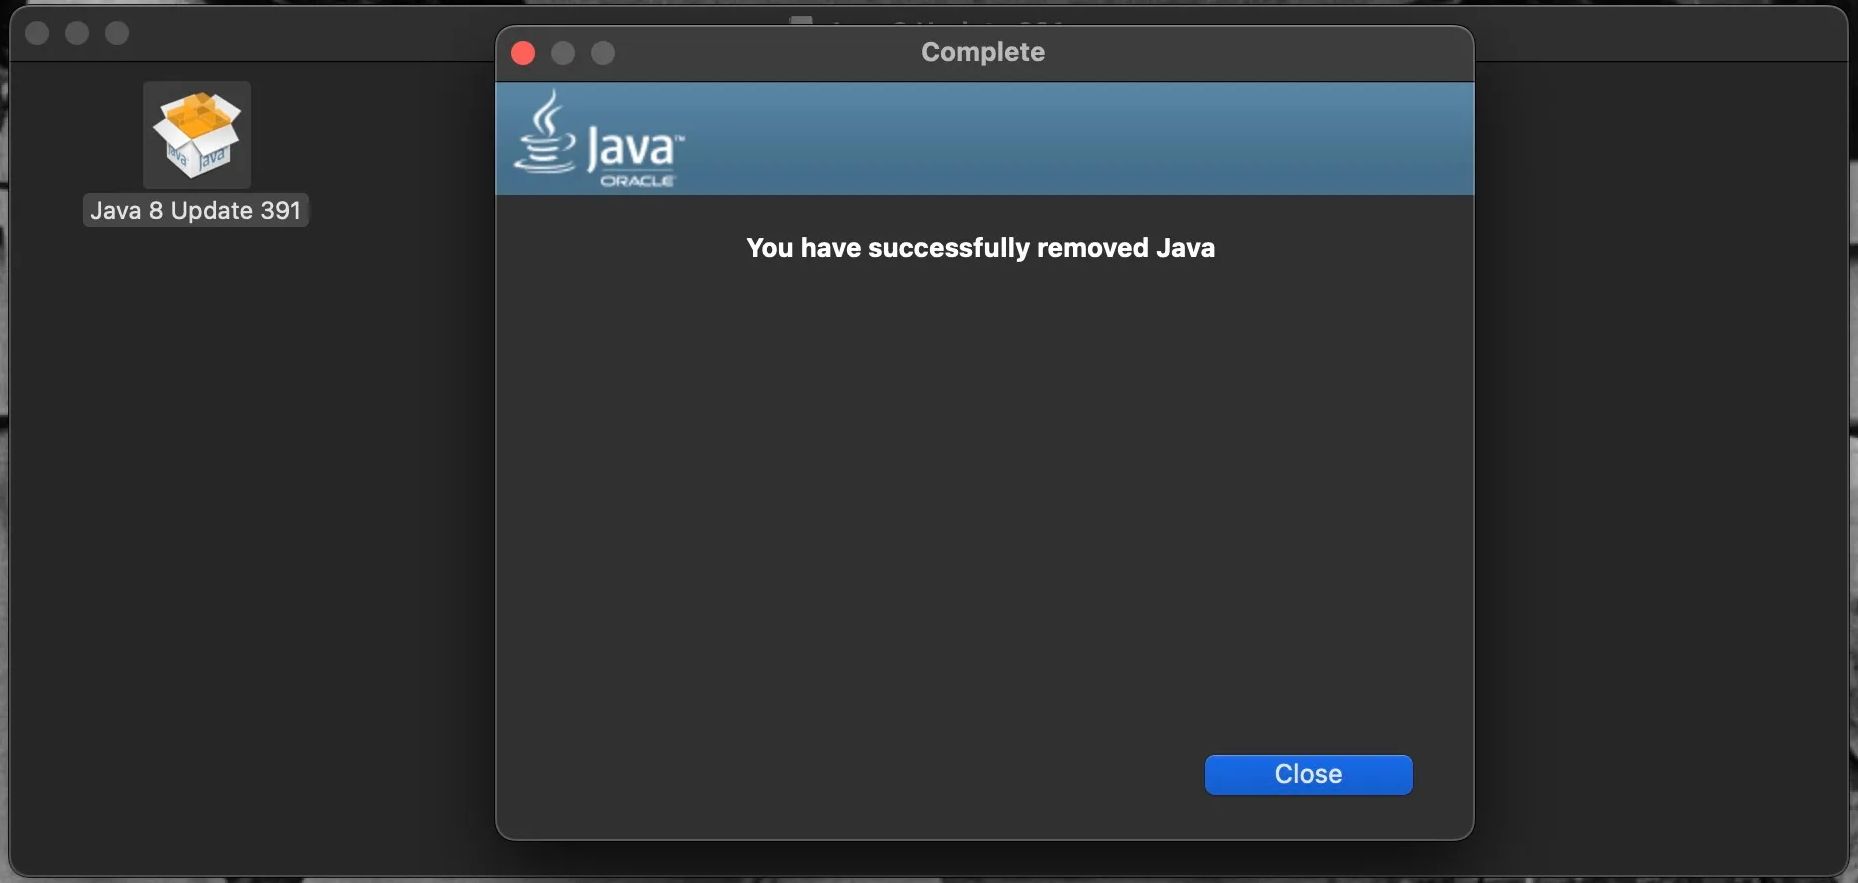
- After a moment, you should see a window saying that the job is complete and that you have successfully removed Java from your computer! You can hit Close to exit the window.


Now, all you need to do is click and drag both the Java 8 Update disk installer and .dmg files to the Trash.
Use Terminal to Remove Java From Your Mac
If you like using Terminal to execute commands on your Mac or you want to go above and beyond to make sure you remove every trace of Java from macOS, do the following:
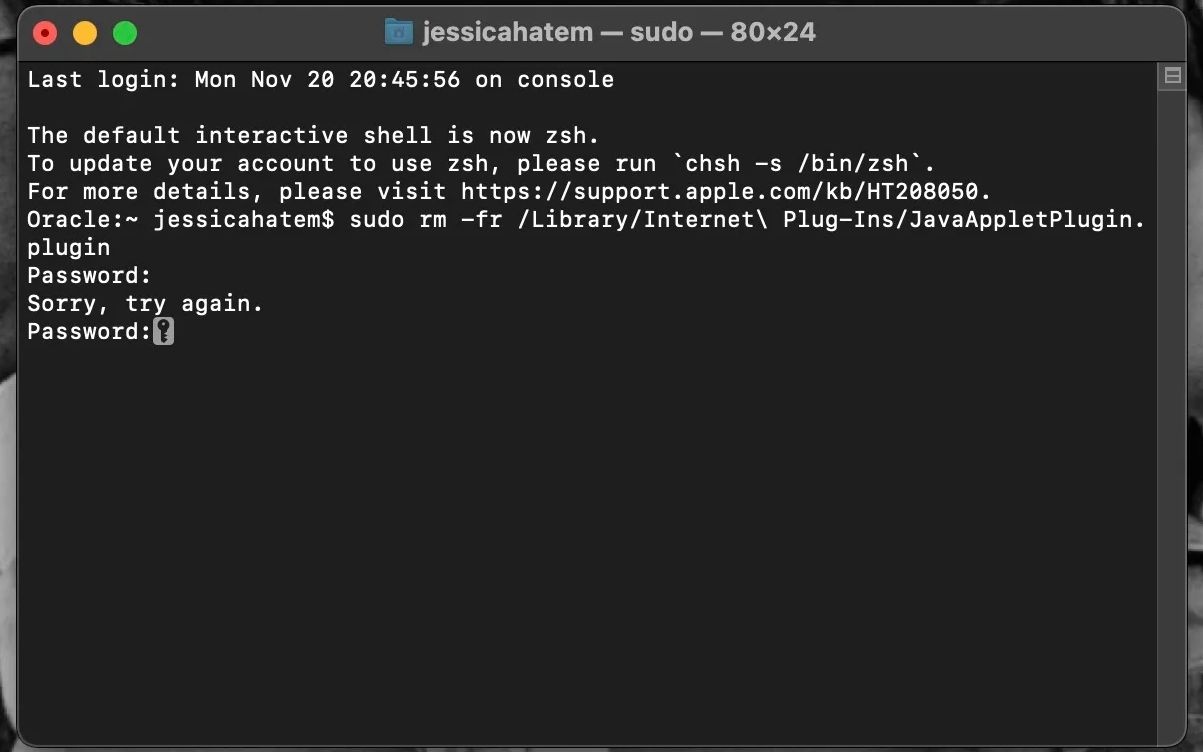
- Launch Terminal using Spotlight search on your Mac (Command + Space).
- Copy and paste the following commands into Terminal one by one:
sudo rm -fr /Library/Internet Plug-Ins/JavaAppletPlugin.pluginsudo rm -fr /Library/PreferencePanes/JavaControlPanel.prefPanesudo rm -fr ~/Library/Application Support/Oracle/Java - Hit the Return (or Enter) key. Enter your Mac’s admin password when prompted to run the commands. This should remove Java from your Mac.
- To remove Java’s cache, copy and paste the following into Terminal:
rm -r ~/"Library/Application Support/Oracle/Java” - Once again, hit Return and enter your admin password to run the command.

You’ve successfully removed all traces of Java from your Mac.
Java is a programming language that creates some security issues for Mac and is not as relevant as it once was. It’s pretty easy to uninstall with its own installer, but using Terminal is preferable if you want the most thorough method.