Deleting the hidden “$Windows.~BT” folder and recovering gigabytes of space on your hard drive is tempting. But what is this cryptically named folder for, and how critical is it to your Windows installation?
What Is the “$Windows.~BT” Folder, and Should You Delete It?
Windows creates the “$Windows.~BT” folder when you upgrade the operating system to a newer build. This folder contains all the essential files for the upgrade process, like temporary installation files and logs from the previous Windows installation.
Windows automatically removes the “$Windows.~BT” folder after 10 days. As manually deleting this folder will remove old Windows installation files, you won’t be able to roll back to the previous Windows build using the Go back option in the Recovery menu within that time (for example, to downgrade from Windows 11 to Windows 10). Hence, you should only get rid of this folder if you are satisfied with the current Windows build on your PC. You can also safely delete the massive folder if Windows fails to do it automatically after the grace period.
But you shouldn’t just delete this hidden folder like any other folder on the desktop. Instead, you should turn to the Disk Cleanup tool or the Command Prompt.
How to Find and Delete the “$Windows.~BT” Folder
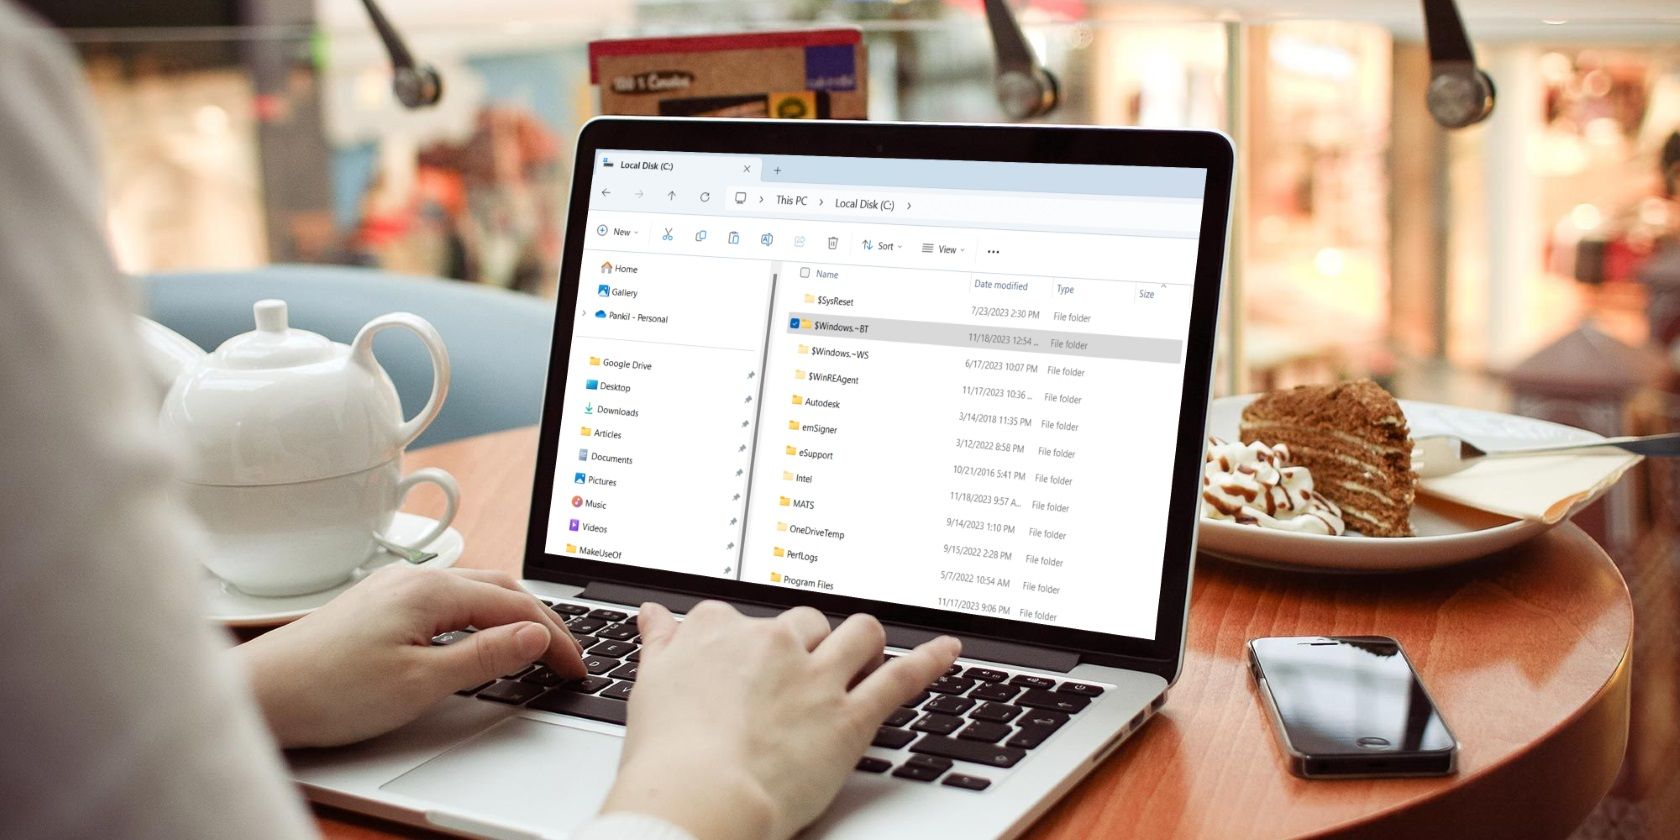
As “$Windows.~BT” is a hidden folder, you need to configure Windows to show hidden files and folders to find it in File Explorer. Once you do, the C:$Windows.~BT directory will become visible.
You can’t delete the “$Windows.~BT” folder directly, though. To do so, you need to run the Disk Cleanup tool. Here’s how:
- Press Win + R to open the Run dialog box.
- Type cleanmgr in the box and press Enter.
- Use the dropdown menu to select the system drive (usually C:) and click OK.
- Click the Clean up system files button.
- Under Files to delete, use the checkboxes to select these options: Previous Windows Installations, Windows Update Cleanup, Windows upgrade log files, Temporary Windows installation files, and Temporary files.
- Click OK.
- Choose Delete Files to confirm.
If the “$Windows.~BT” folder shows up even after you run the Disk Cleanup tool, you’ll need to execute a few commands in Command Prompt. For that, open Command Prompt with administrative rights and then run the following commands one by one.
 takeown /F C:$Windows.~BT* /R /A
icacls C:$Windows.~BT*.* /T /grant administrators:F
rmdir /S /Q C:$Windows.~BT
Once you run the above commands, the “$Windows.~BT” folder will be deleted for good.
Now that you understand the purpose of the “$Windows.~BT” folder, you can decide how to handle it. Beyond the “$Windows.~BT” folder, you may also come across folders like “Windows.old,” “$WinREAgent,” “$SysReset,” and others which can also be deleted safely using the Disk Cleanup tool.