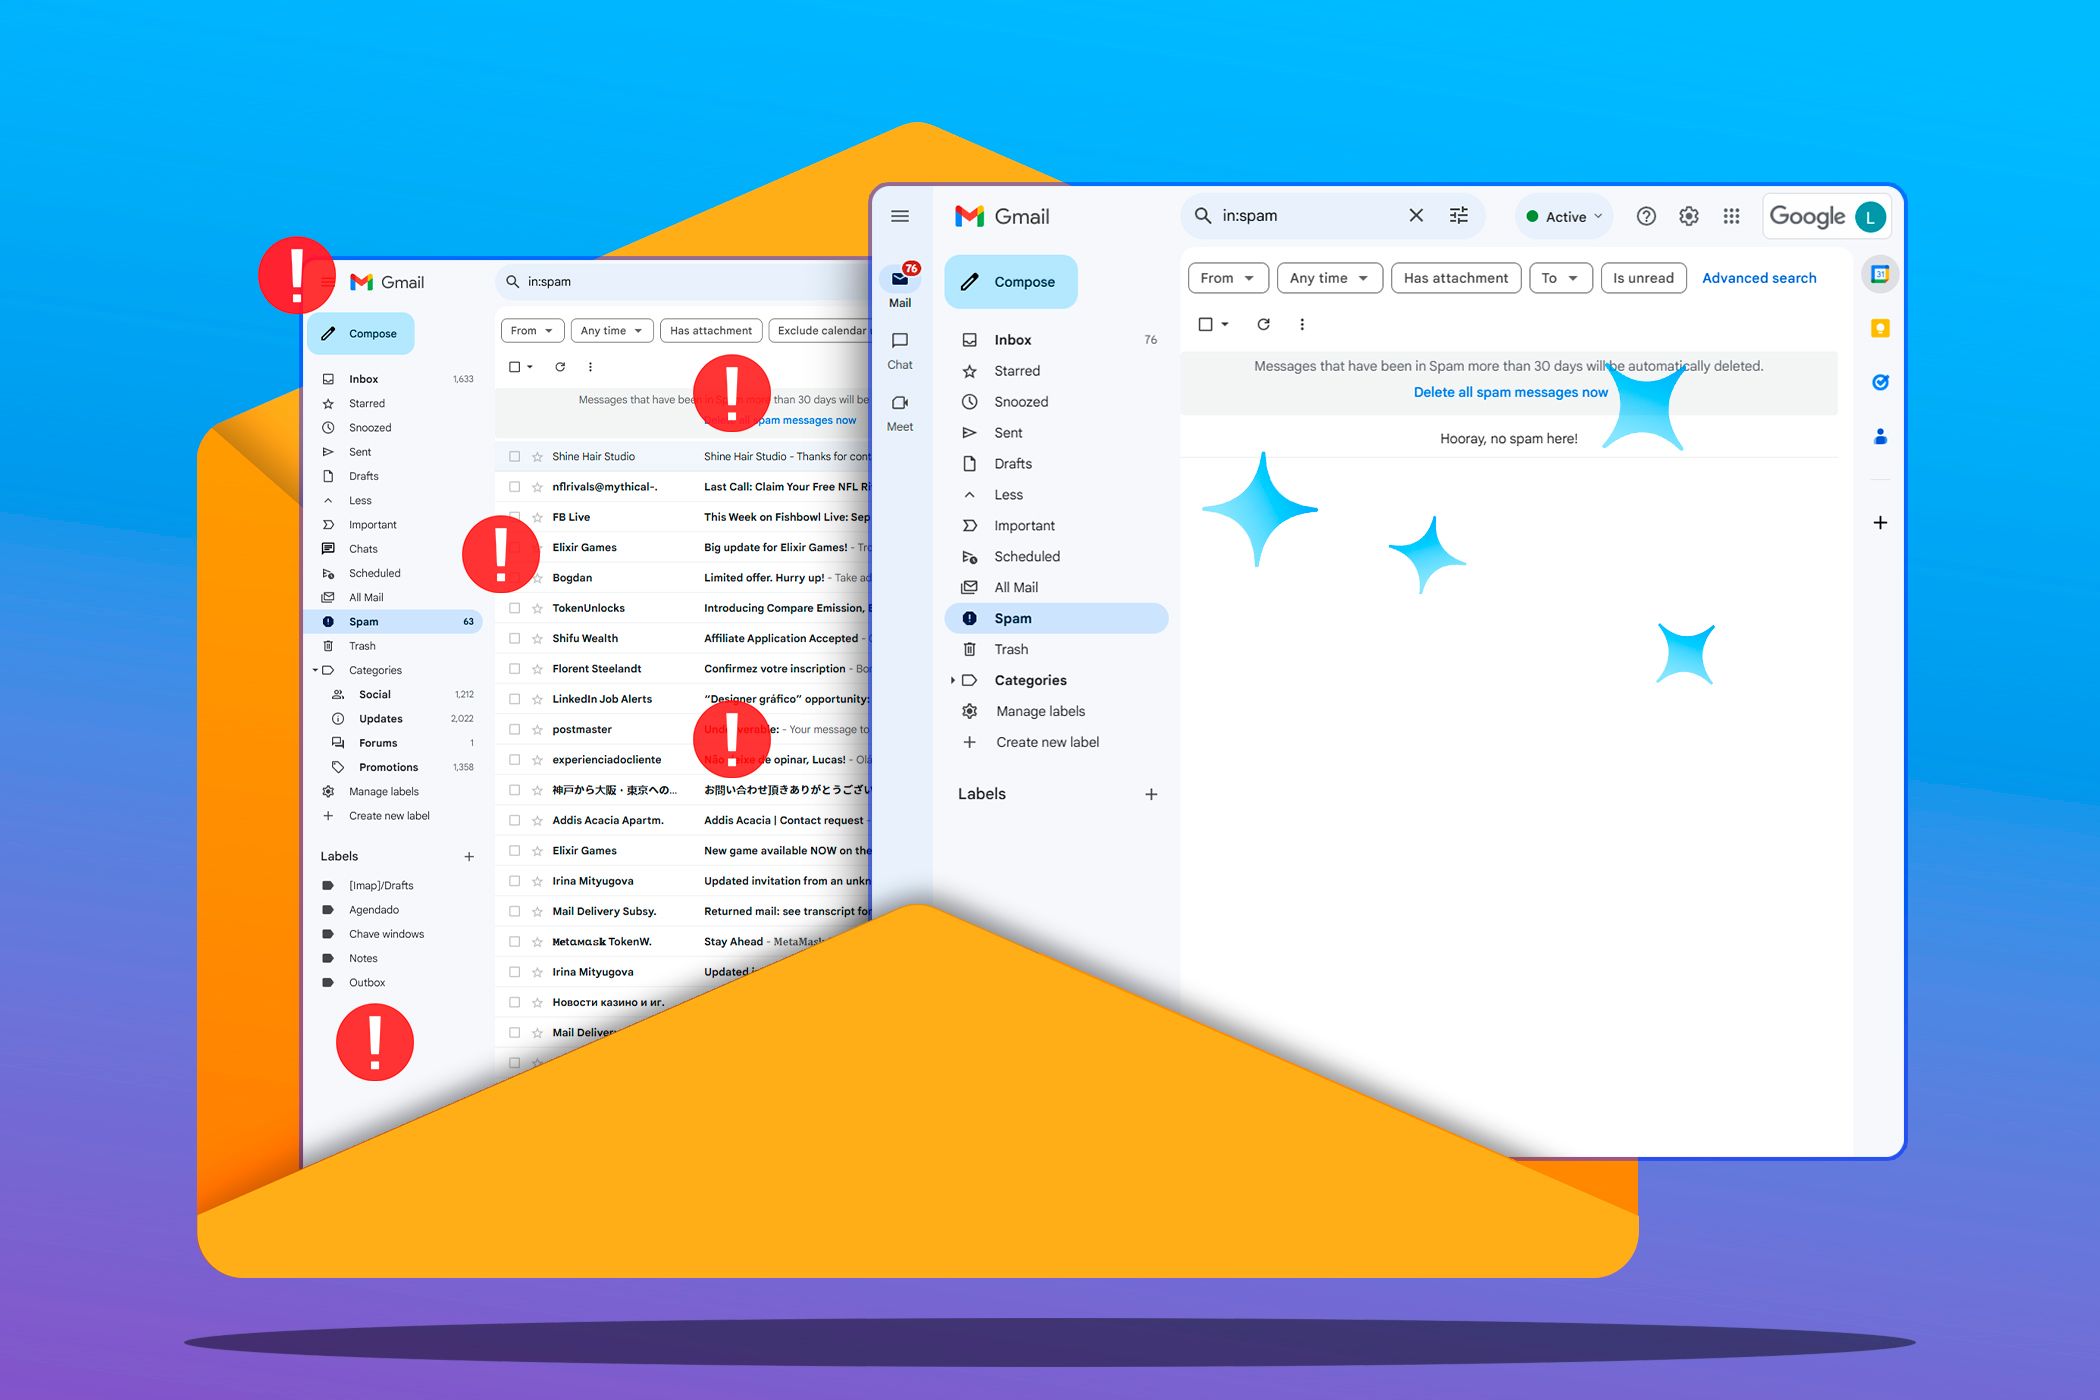
Are you sick of spam flooding your Gmail inbox? It’s tiring to constantly delete unwanted emails and sift through the mess. Here are my top strategies for controlling spam in Gmail.
1 Avoid Sharing Email Online Unless Needed
To control spam in Gmail, first and foremost, avoid sharing your email address online unless you need it. This applies to social media, online forms, newsletters, and public websites. Spammers use automated programs to scan the internet for email addresses, so sharing more increases your chances of ending up on spam lists.
I personally use disposable email addresses (temporary emails) for online activities that need an email but don’t require linking to my personal account. This way, I keep my main email address private and only share it with trusted sources. As a result, I’ve significantly reduced spam cluttering my inbox.
2 Be Cautious with Links and Attachments
Spammers often target your inbox with phishing emails containing suspicious links or attachments. These emails can install malware on your device or direct you to fraudulent login pages designed to steal your personal info. To avoid these traps, be cautious when clicking links or downloading attachments.
Always verify the sender’s email address, hover over links to check the actual URL, and delete suspicious emails without opening them. Spammers also use bait tactics, offering fake links or attachments to lure unsuspecting users. So, think twice before clicking on suspicious links or emails asking for sensitive information.
3 Create an Email Alias
An email alias is an alternate address that redirects emails to your primary account. You can create multiple email aliases (up to 30 aliases) and use filters to manage spam effectively. For example, if your primary email address is [email protected], you could use [email protected] as an alias.
Emails sent to this alias will still arrive in your main inbox, but you can configure filters to delete or bypass them. To do this, open your Gmail account and click the settings icon (gear symbol) in the top right corner. Then, go to See all settings > Filters and Blocked Addresses > Create a new filter.

In the To field, enter your email alias ([email protected]) and click Create filter. From there, select Delete it or Skip the Inbox (Archive it). Then click Create filter to apply the changes. Now spam emails sent to your email alias will be automatically deleted or archived without cluttering your inbox.

Promotional emails can clutter your inbox and bury important messages under ads. They often come from online retailers, subscription services, or social media platforms. While these emails seem harmless, spammers can use them to target your mailbox. To declutter and protect yourself from potential spam, unsubscribe from emails you no longer want.
Most promotional emails have an Unsubscribe link at the bottom or near the sender’s email address. Clicking this link typically directs you to a page to confirm your choice to opt out of future communications. Some emails might require you to log in or re-enter your email address for verification. Once confirmed, you should be notified that you’ve successfully unsubscribed from their promotional list.
5 Block and Report Suspicious Emails

Even after unsubscribing from promotional emails, you might still receive suspicious ones you never signed up for. These could be phishing attempts—a common tactic scammers use to obtain personal information or spread malware. Such emails often come from fake or masked addresses, making their legitimacy challenging to determine. They may also use alarming subject lines or urgent tones to lure you into clicking links or downloading attachments.
If you receive a suspicious email, don’t engage with the sender. Avoid clicking links, downloading attachments, or replying. Instead, block the sender and report the email as spam or phishing. To block a sender, open the email, click More (three dots) > Block “the sender’s email address.” A confirmation pop-up will appear; once confirmed, future emails from that sender will be marked as spam.
Similarly, to report an email as spam or phishing, select More (three dots) > Report phishing or Report spam. Doing this will prevent the sender from targeting others in the future.
You can also report suspicious emails to organizations like the Federal Trade Commission (FTC) or the Anti-Phishing Working Group (APWG). These organizations track and shut down phishing attempts, protecting consumers from online scams. By reporting these emails, you can prevent others from falling victim to scams.
6 Create a Canned Response Template
A canned response template, or email template, is a pre-written message you can save for repeated inquiries. Instead of crafting a new email each time, you can choose a template and personalize it as needed. Creating an email template saves time and ensures consistency in your responses. It also keeps your inbox organized and prevents delays in replies.

To create an email template, log into your email account and click on the Gear icon (Settings) located in the top right corner. Next, select See all settings and navigate to the Advanced tab. Scroll down to the Templates section and click the Enable checkbox. Finally, click Save Changes to apply your settings.

After enabling the template settings, the next step is to create your template. In your inbox, click Compose to start a new email. Write the response message you wish to use as a template.
Once you’re satisfied with the content, click on the three dots in the bottom right corner. Then, navigate to Templates > Save draft as template > Save as new template. In the pop-up window, name your template and click Save.

In Gmail, you can store up to 50 different response templates at once. Now that you have set up your template, you need to create an automated response filter that responds to incoming emails with specific keywords.
To create the filter, click the Gear icon (Settings) and select See all settings. Go to Filters and Blocked Addresses > Create a new filter.

In the Has the words field, enter the keywords or phrases that will trigger your template. For example, if you frequently receive recruitment inquiries, enter “recruit,” “job opportunity,” or “career.” Then, click Create filter.

In the next window, check the box for Skip the Inbox (Archive it) to keep these emails out of your inbox. Then, check the Send template box and select your template from the drop-down menu. Finally, click Create filter to apply the changes.
When an email with the specified keyword or phrase arrives, your template will be sent automatically as a reply. By doing this, neither your inbox will be cluttered, nor the sender will have to wait.