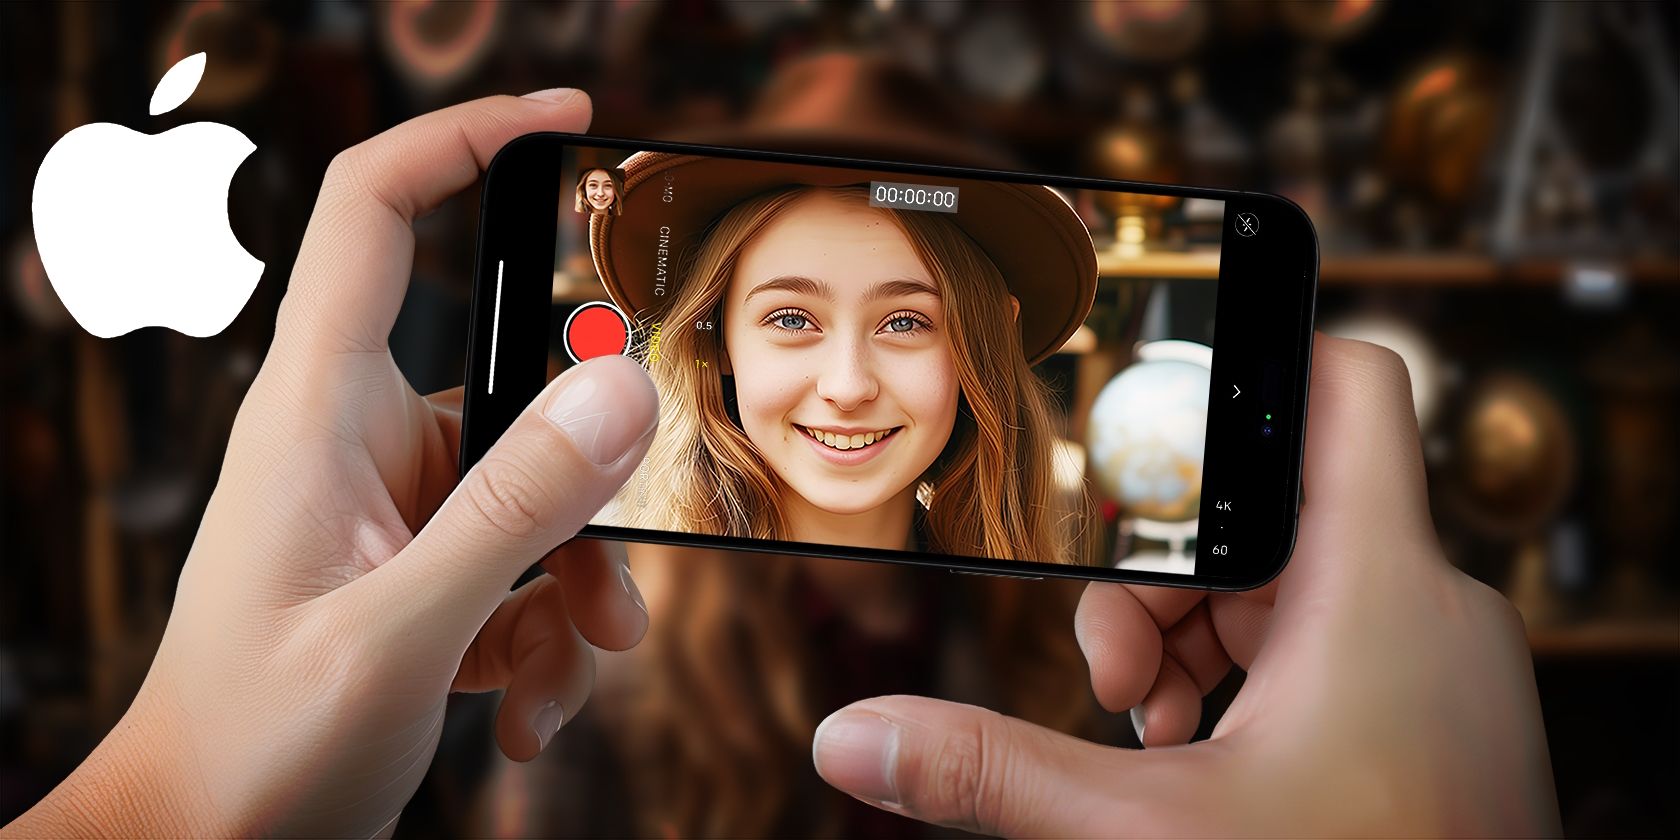
While your iPhone can shoot great-looking videos out of the box, you can get better results by tweaking some camera settings. Whether you’re a beginner or professional, here are all the iPhone camera settings you should tweak right away.
1. Change Your Video Resolution and Frame Rate
Head to your iPhone’s Settings app and go to Camera > Record Video. On the next screen, you’ll see several combinations of video qualities and different frame rates. If you’d like to record in the highest resolution possible, make sure you choose 4K at 60FPS.
However, keep in mind that the higher resolution you choose, the more storage space each video will consume. You can also tweak the video resolution of slo-mo and cinematic videos. So, if you tend to use those video modes often, it’s worth adjusting their resolution settings as well.
You can also adjust the video resolution and frame rate directly from the Camera app. Switch to Video mode and tap the HD or 4K option in the top-right corner to switch your resolution. And to adjust the frame rate, tap the FPS value right next to it.
Additionally, you’ll find an Auto FPS setting in Camera > Record Video. When this is enabled, your iPhone will automatically reduce the frame rate to 24FPS to improve low-light videos. By default, it’s only enabled for 30FPS videos, but you can turn it on for both 30 and 60FPS shots.
2. Use Action Mode
There’s no worse feeling than taking a video of your favorite artist performing at a concert only to realize your hands were shaking throughout the video once you rewatch it. This is where the Action mode feature on the iPhone 14 and newer models comes in clutch. It’s a dedicated mode that can help reduce the shakiness of your videos.
To help you see the difference, here’s a video I recorded with Action mode enabled:
And here’s a video I recorded with Action mode disabled. Notice how shakier the footage is when I’m barely even jogging?
To enable Action mode, head to the Camera app on your iPhone and switch to Video mode. You’ll see an Action Mode icon, which looks like a person running. Once you tap the icon, it’ll turn yellow, and you’ll see an Action mode banner appear at the top of the screen.
You should be in a well-lit area to get the most out of Action mode. Otherwise, a “More light required” message may appear on the screen.
However, you can enable this feature for low light conditions by heading to Settings > Camera > Record Video and toggling on the switch next to Action Mode Lower Light.
So, if you tend to capture videos when you’re on the move, turning on Action Mode is definitely a great idea!
3. Ensure Enhanced Stabilization Is Enabled
While you’re at it, we also recommend enabling Enhanced Stabilization. Like Action Mode, Enhanced Stabilization is available on the iPhone 14, iPhone 14 Pro, and newer models. This feature zooms in slightly and crops the edge of your footage slightly. Unlike Action Mode, this feature also works in Cinematic mode.
To help you see the difference, here’s a video I recorded with Enhanced Stabilization enabled:
Here’s a video I recorded with Enhanced Stabilization disabled. Notice how the first video exhibits a smoother motion when the camera is in motion, whereas the second video appears to be more unstable.
While Enhanced Stabilization by default, you may have unknowingly disabled it while messing around with your settings. Head to Settings > Camera > Record Video and ensure Enhanced Stabilization is toggled on.
4. Use Apple ProRes
If you have an iPhone 13 Pro or newer Pro model and want to use your Apple device to record clips with incredible detail, we recommend turning on ProRes.
Apple ProRes is a “visually lossless” recording format that’s relatively easier to edit. While you won’t find this feature all that useful if you simply record videos for Instagram or TikTok, it’ll definitely come in clutch if you’re a cinematographer or a budding content creator on YouTube.
To turn on ProRes, head to Settings > Camera > Formats and toggle on the switch next to Apple ProRes under the Video Capture section.
Go to your iPhone’s Camera app and switch to Video mode. Finally, tap the ProRes toggle at the top. While this recording format will undoubtedly allow you to record videos that capture much more detail, ProRes videos are around 30x larger than HEVC (High Efficiency Video Coding) files. So, make sure you have enough free space on your iPhone.
The rule of thirds in photography suggests dividing your image into a grid of nine equal parts using two vertical and two horizontal lines. The main subjects or points of interest are then placed along these lines or at their intersections to create a balanced composition.
Whether you’re an experienced videographer or a complete beginner, camera grid lines can help you apply the rule of thirds with ease. To enable grid lines on your iPhone, go to Settings > Camera and toggle on the switch next to Grid under Composition.
Apple also introduced a leveling tool in iOS 17 that helps you line up your shots on your iPhone. To use the Level tool in your iPhone’s Camera app, simply toggle on the switch next to Level in Settings > Camera.
6. Disable HDR Video
By default, the iPhone 12 and newer models use Dolby Vision HDR (High Dynamic Range) when the conditions are ideal. However, leaving HDR mode enabled sometimes causes videos to look choppy and unnaturally saturated if the conditions of the videos aren’t ideal.
To help you see the difference, here’s a video I recorded with HDR enabled:
Here’s a video I recorded with HDR disabled:
So, if you’re going for a more natural vibe with your videos and prefer having a consistent color theme, you’re better off disabling it. All you need to do is head to Settings > Camera > Record Video and toggle off the switch next to HDR Video.
7. Enable Macro Control
One of the most impressive additions to modern iPhones is Macro Control, which allows users to capture stellar shots of subjects as little as two centimeters away. Here’s a video I recorded with Macro Control enabled:
Here’s a video I recorded with Macro Control disabled:
Unfortunately, Macro Control is exclusive to the iPhone 13 Pro and newer Pro models. So, if you’d like to take close shots, head to Settings > Camera and ensure Macro Control is toggled on.
Then, open the Camera app and position your iPhone’s camera close to the subject. Once you do so, your iPhone’s camera will automatically switch to the ultra-wide lens. You’ll also notice a yellow flower icon when Macro Control is activated. If you want to disable automatic macro switching, simply tap the flower icon.
While your iPhone’s camera can record videos with great detail without you having to do anything, taking some time to tweak these settings can help your footage stand out, especially while shooting in less-than-ideal conditions.